One of the first exercises that were given to us was to create html code based of a prototype of a simple page, and write it in a way, that if we give it to ChatGPT, it will understand it and create appropriate css for it. That had to be done only by writing semantic code and not giving the chatbot any more instructions. That way it will create a page, similar to ours, only if we give it well written semantic html, which we should always aim for. You can see the result from that experiment here.
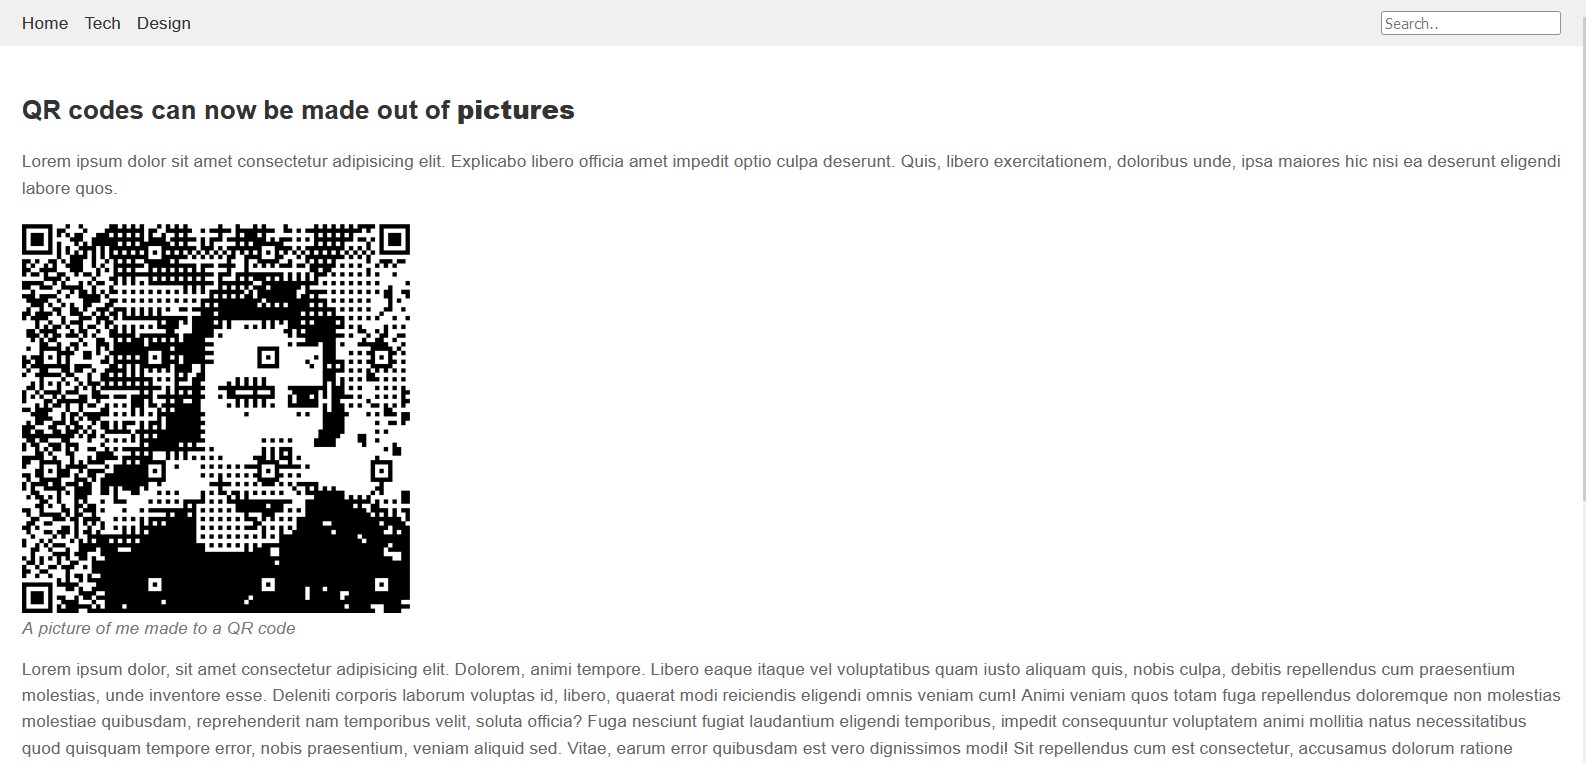
A problem that occurred was that, despite the fact that I put the picture in a
‹aside› tag, the chatbot wouldn’t understand the task correctly, if you
didn’t specify that you want
the picture to be on the side and was always putting it below the text.
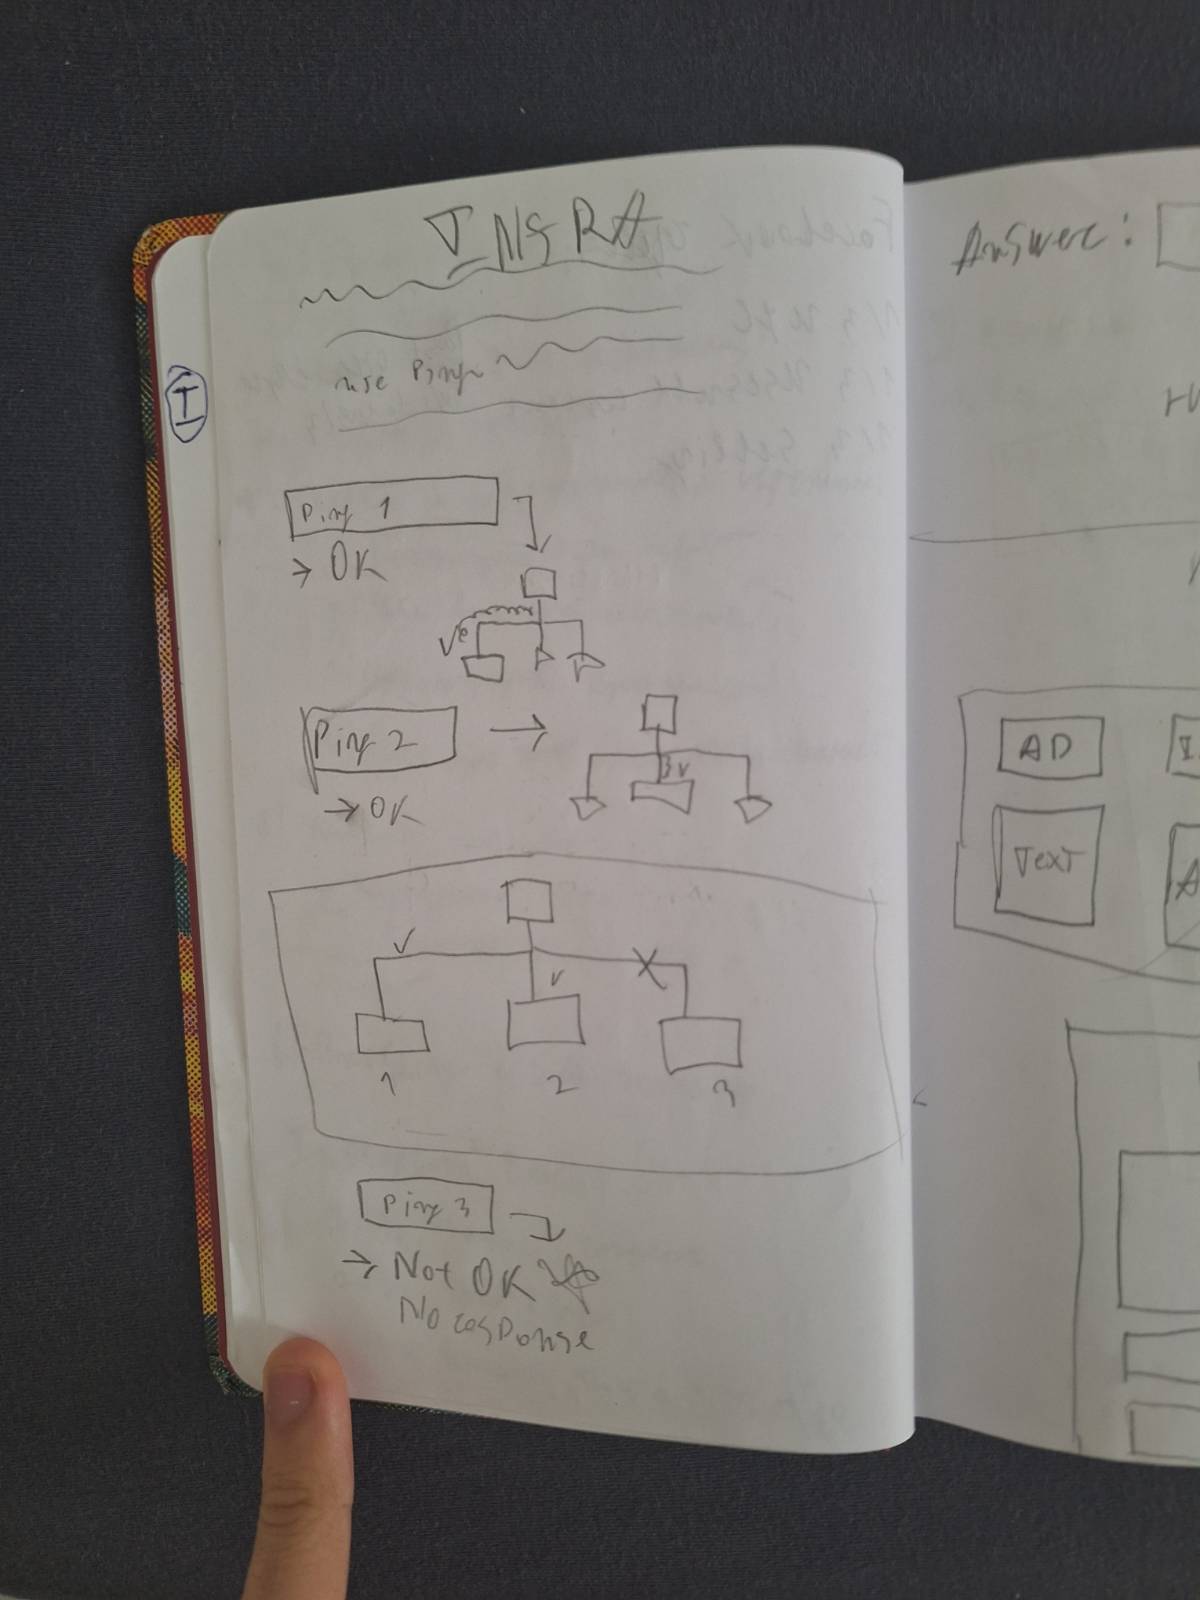
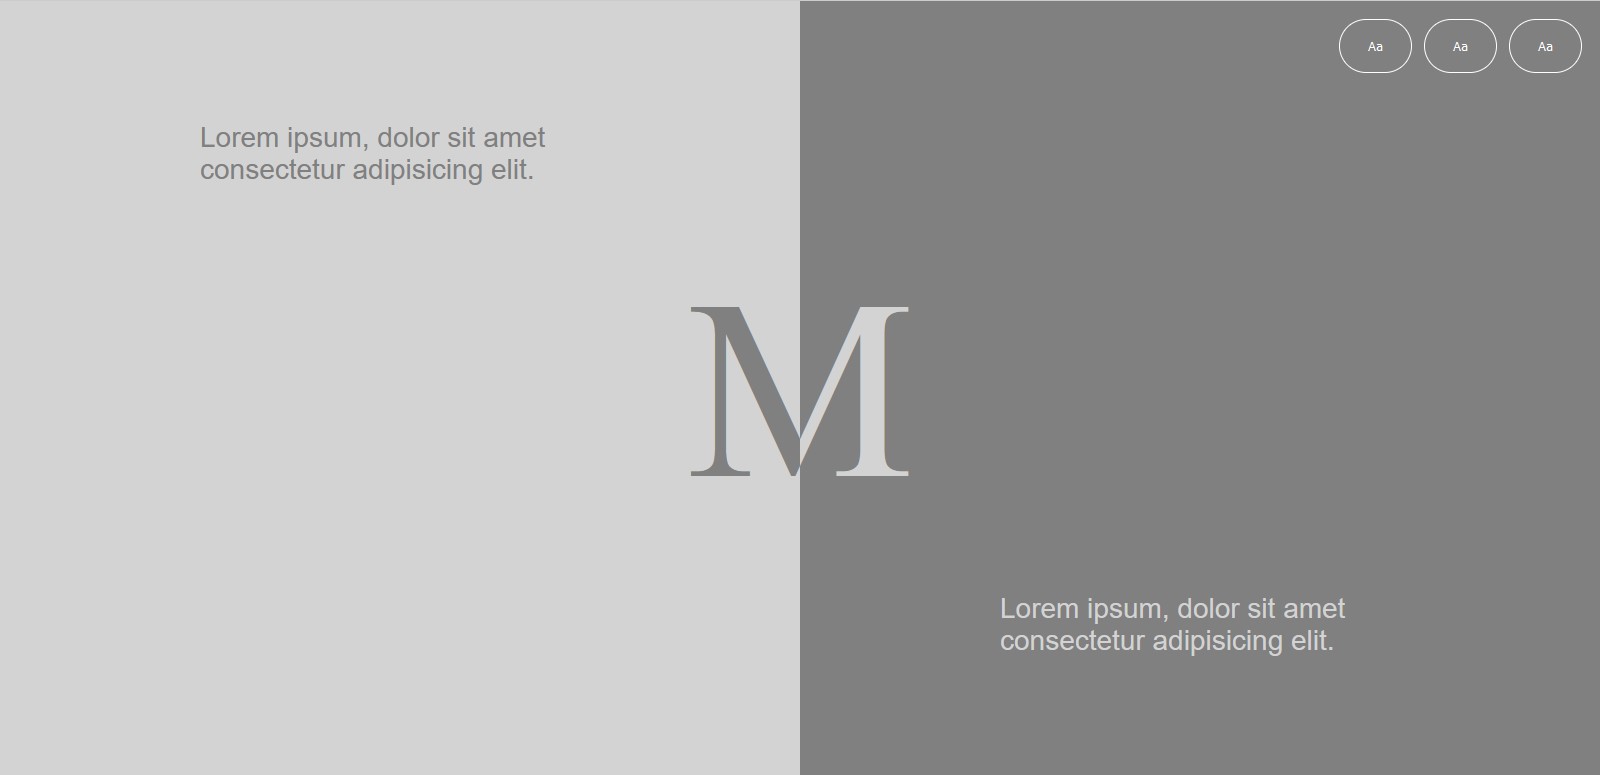
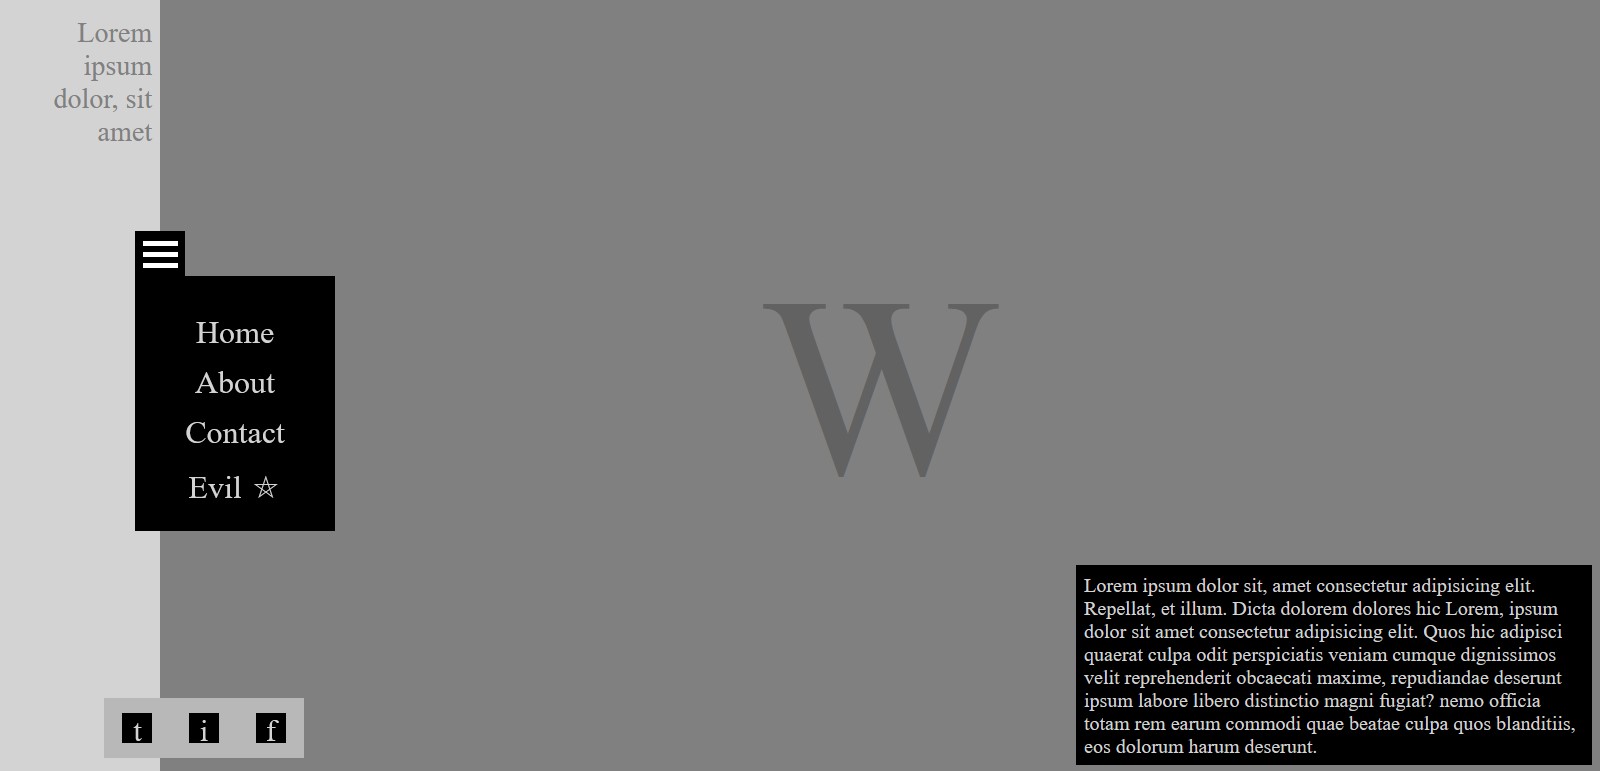
In order to practice what we have learned about css, I did some exercises, that were given to us by Metaxas, where we had to create two pages, only with html and css. The first one had to be split in half, and have the letter M in the middle, that was also split in half. Besides that it had some text in every half, and 3 buttons on the top right corner. Everything was relevantly easy to do, besides splitting the letter in half. After a lot of digging I found this article, that helped me a lot, and I managed to do the task successfully.
The other one was a bit more challenging, because we had to create a drop-down menu, without
using anything but CSS. I had no-idea on how to do that back then, but I watched some tutorials
and found how to take use of the display: none; so, I can create the dropdown,
which also
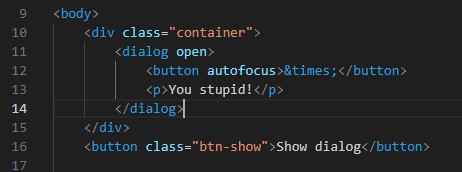
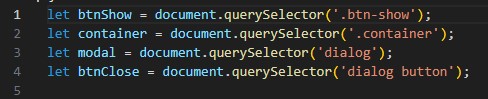
worked. For that task it was also important to make some research on what the right semantic tag
for the description box on the bottom right corner is. According to MDN” … the
‹dialog› element
is used to create both modal and non-modal dialog boxes. Modal dialog boxes interrupt
interaction with the rest of the page being inert, while non-modal dialog boxes allow
interaction with the rest of the page.”, so based on that I decided to use that element for
it.
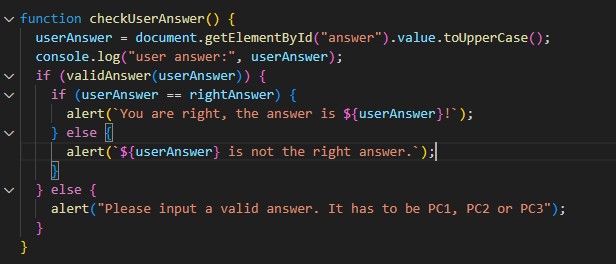
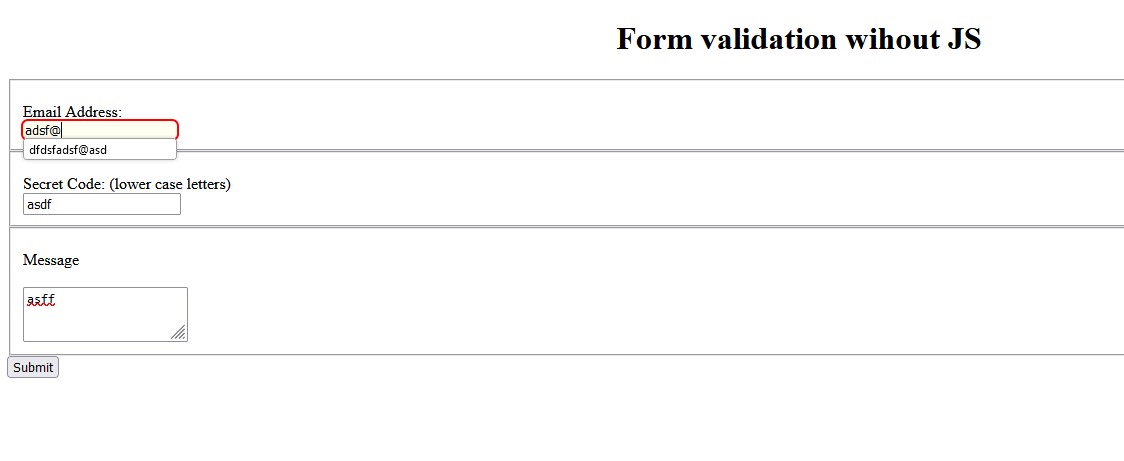
Form Validation
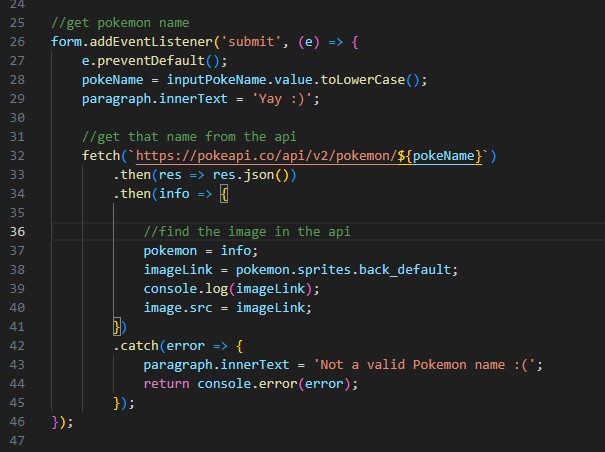
I learned that you can also perform form validation without any JavaScript, only using html and CSS. I’ve created a sample, for the sake of testing, where you have the option to input an email, a secret code and a from message, which is the only thing required.
-
-
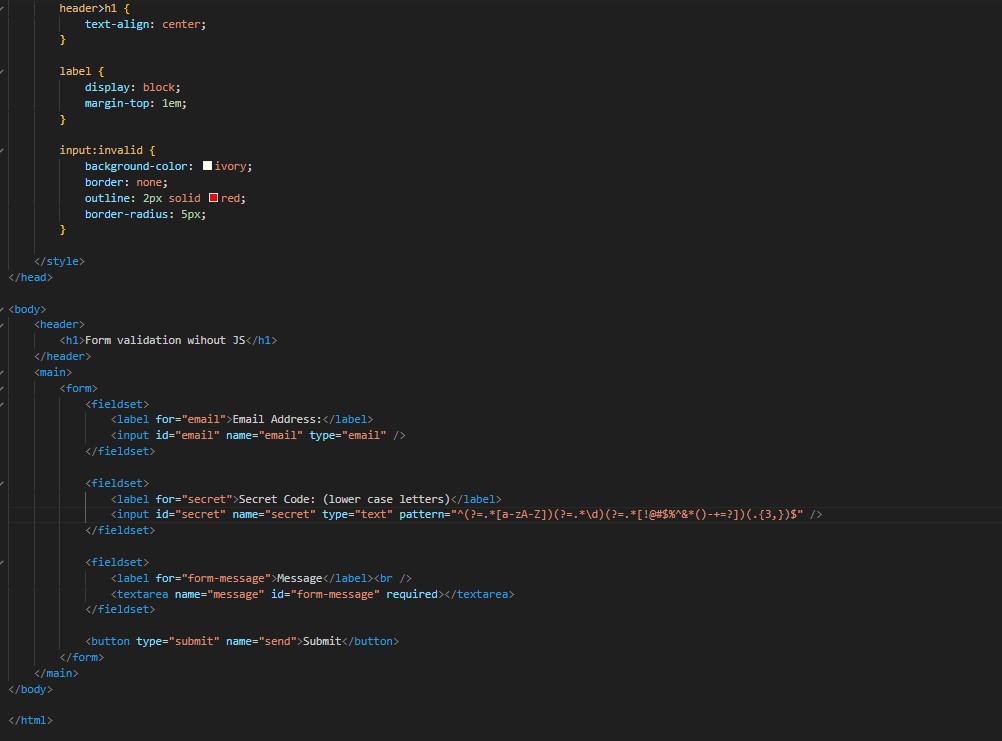
The HTML code for the picture above
An important thing to mind here is that it is useful to use of the user-valid/invalid pseudo classes that can make the customer experience a lot better, since it recognizes if something’s valid based on their validation constraints, after the user has interacted with it. Reference
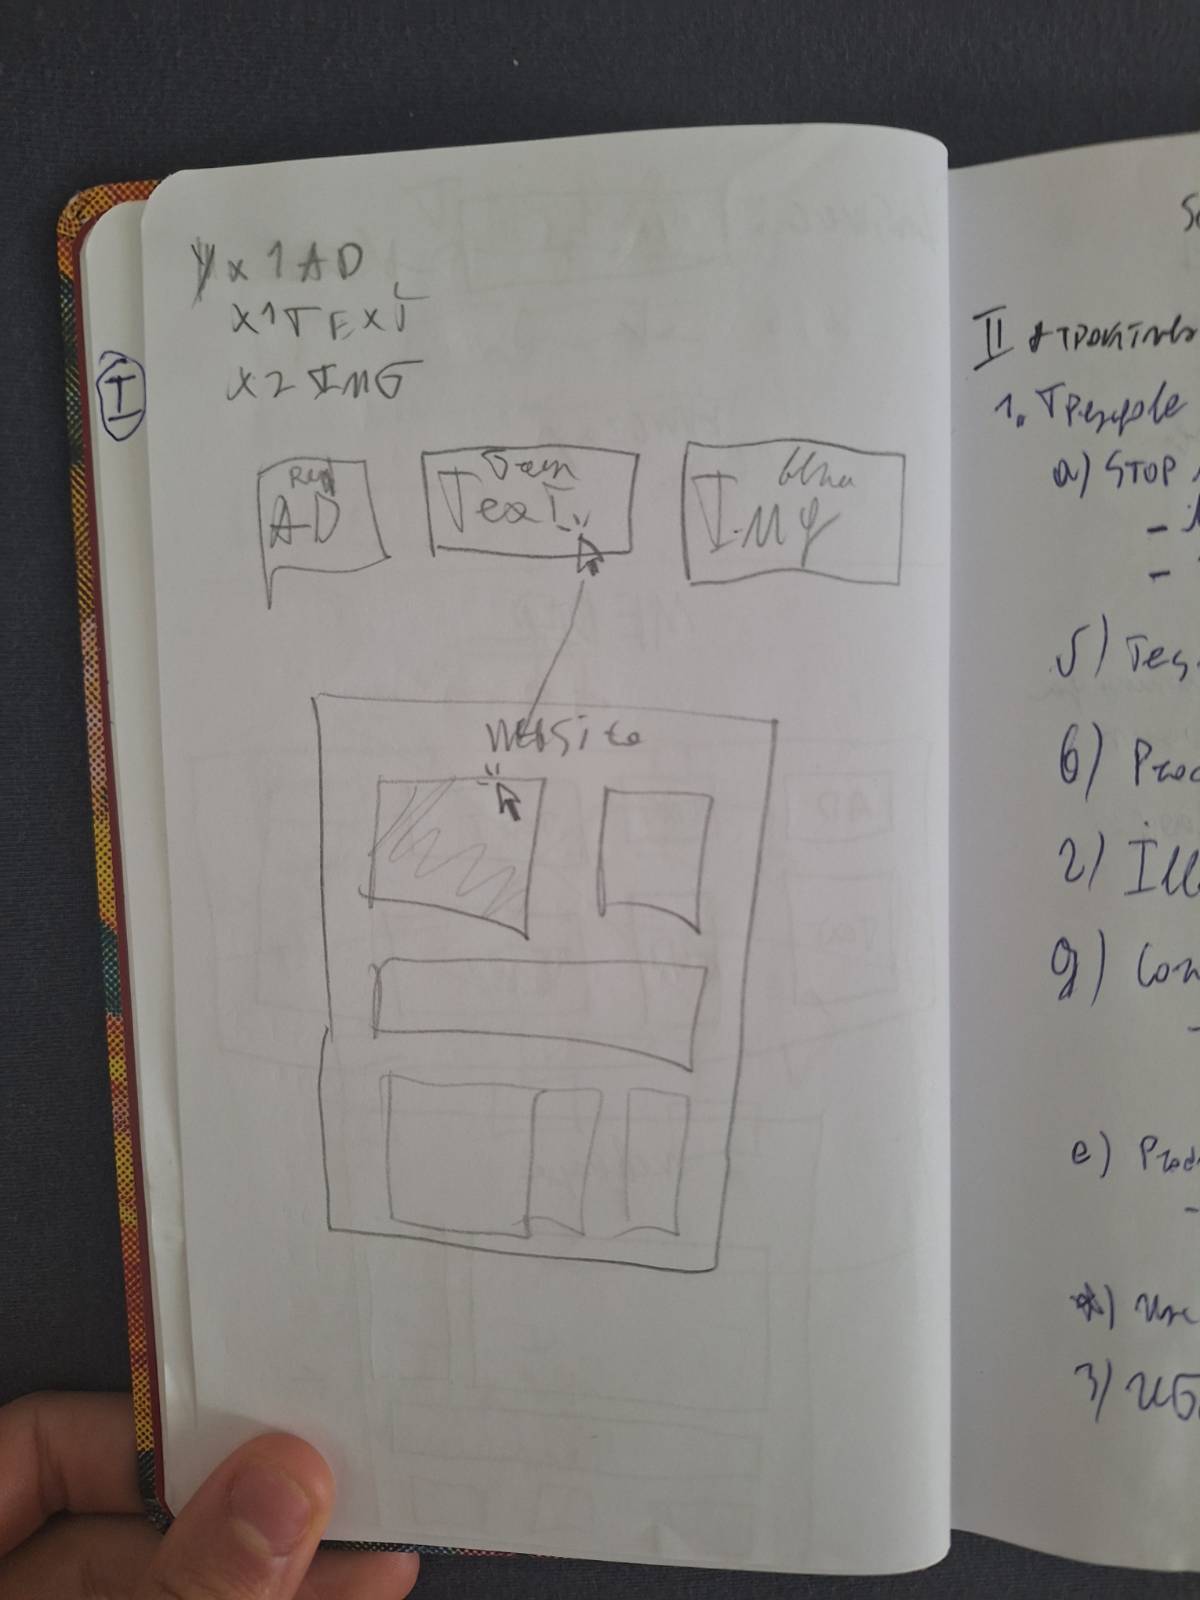
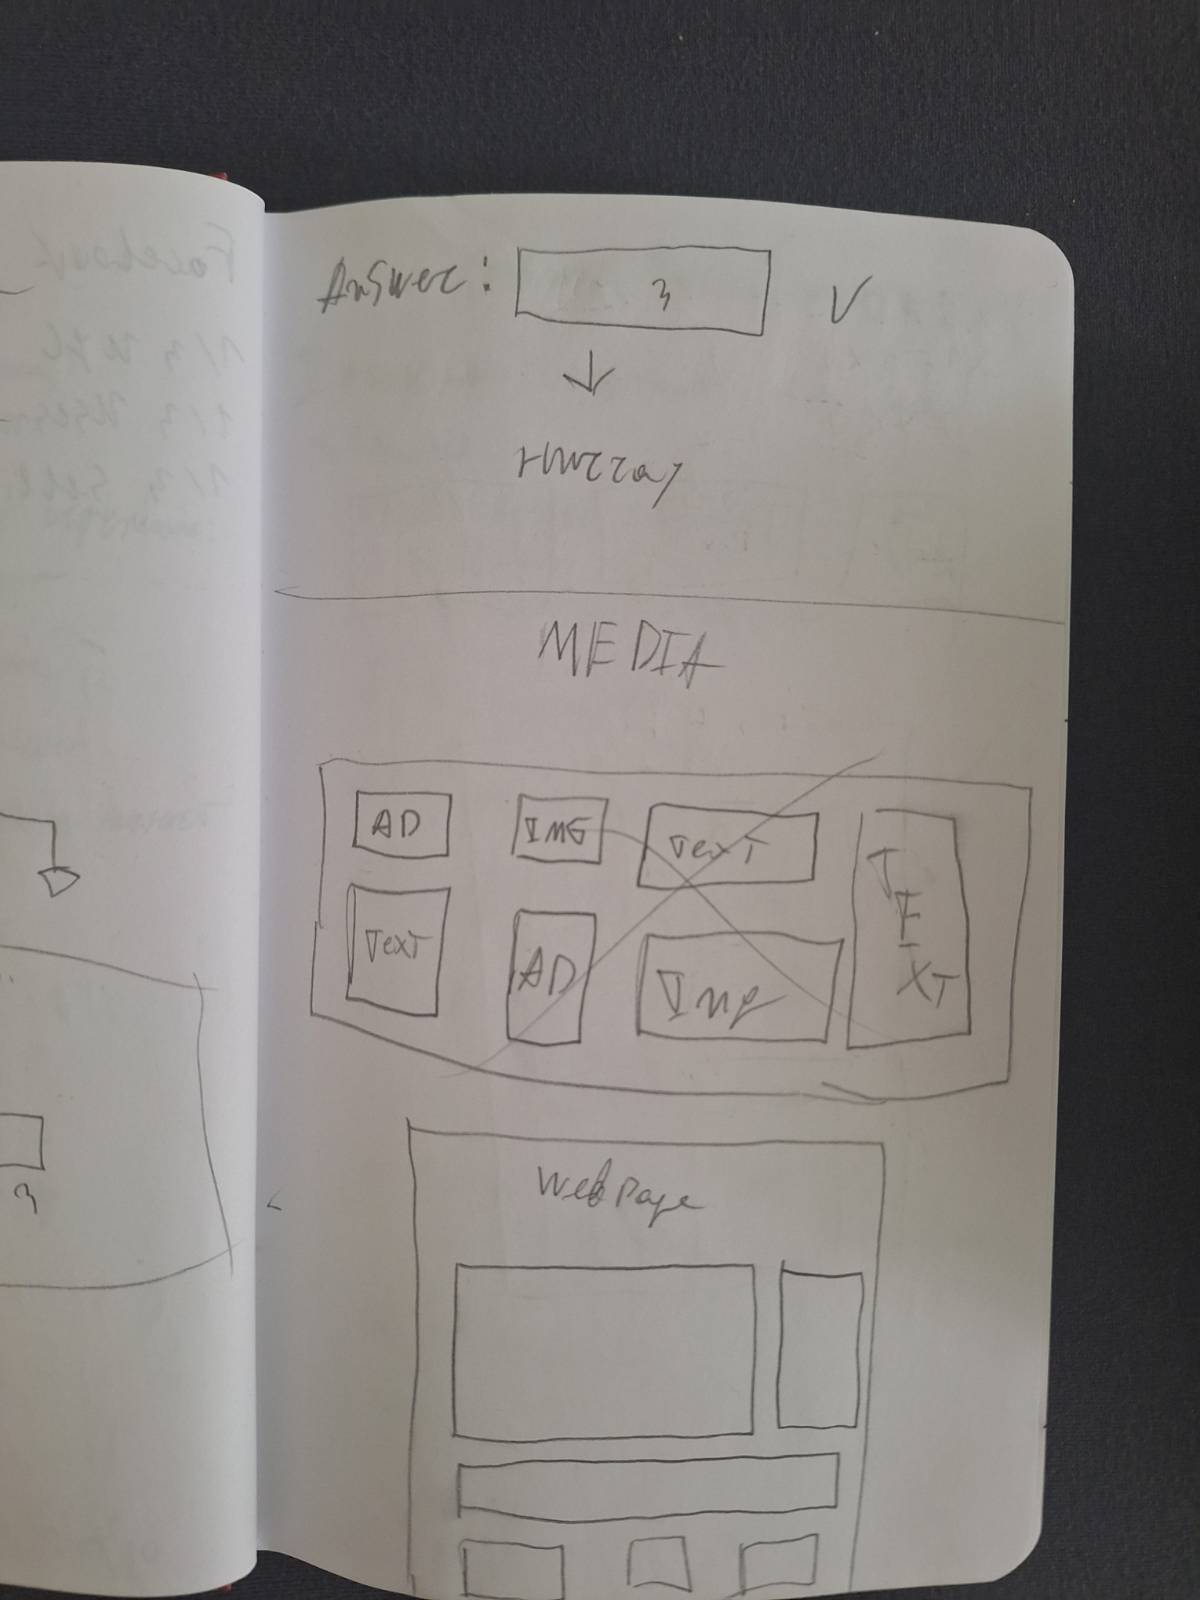
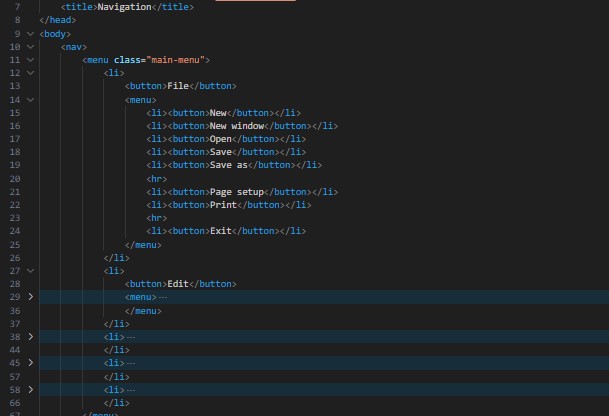
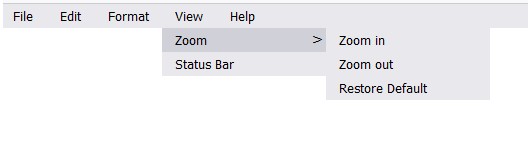
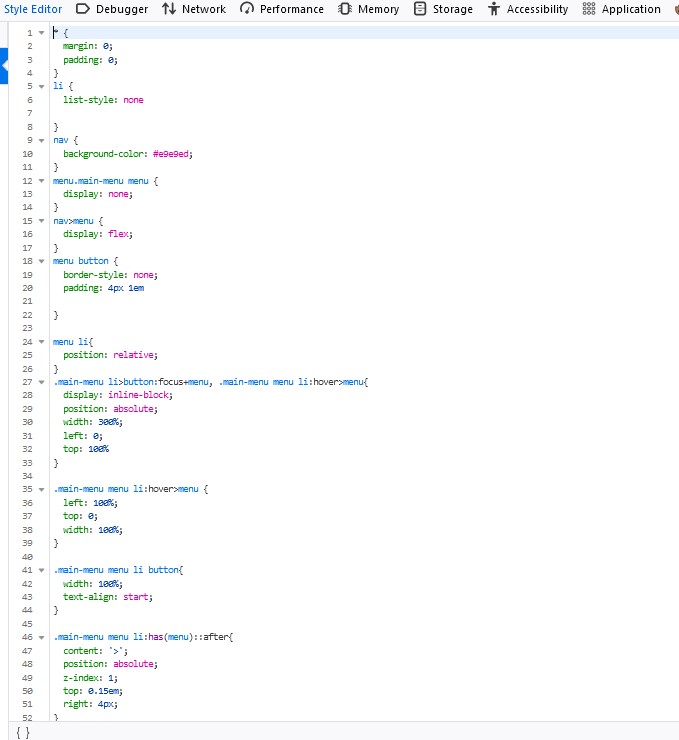
Menu
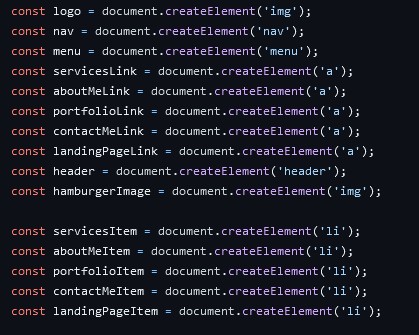
We discovered the real power of CSS, when we had a lesson with Metaxas, where he created a windows navigation menu, only and only by using CSS. That was honestly mind blowing, and really motivated me to learn how to use the CSS selectors good. To do that, I read trough most of the pseudo classes in mdn, and also watched some YouTube tutorials on the variety of CSS selectors. To put this in practice I decided to recreate the page that he did in class, so I opened up a notepad, and started writing my html.
I started out by creating the HTML structure, based on the navigation bar I saw in notepad. I
started by using the >‹ul› element, but then I remembered that Metaxas
used something different.
I then searched in google for the different type of lists, and didn't find anything useful. Then
I searched for semantic navigation listing and found the >‹menu›
element. After that I went and
searched for the >‹menu› element in MDN and found
this,
which
explains that the
>‹menu› element is the same as the >‹ul›
element, but it is used for "interactive items". Because
of that, I concluded that using the >‹menu› element would be more
semantically correct, and so I did.
Afterwards I hopped in the Firefox development tools, because it is more convenient to write
code directly there, and started developing my CSS. I had some difficulties in the way, for
example how to nest the lists properly, and how to make the buttons clickable, but then to
make the submenus appear only when hovered. I also didn't know how to do was how to check if
the parent element contains something inside of it, and change the parent itself, if it
does. I searched for it in the internet, and found this
stackoverflow article that helped me to find the :has pseudo selector, and then
use it. I managed to make a fully functional version at the end, and I haven’t been happier.
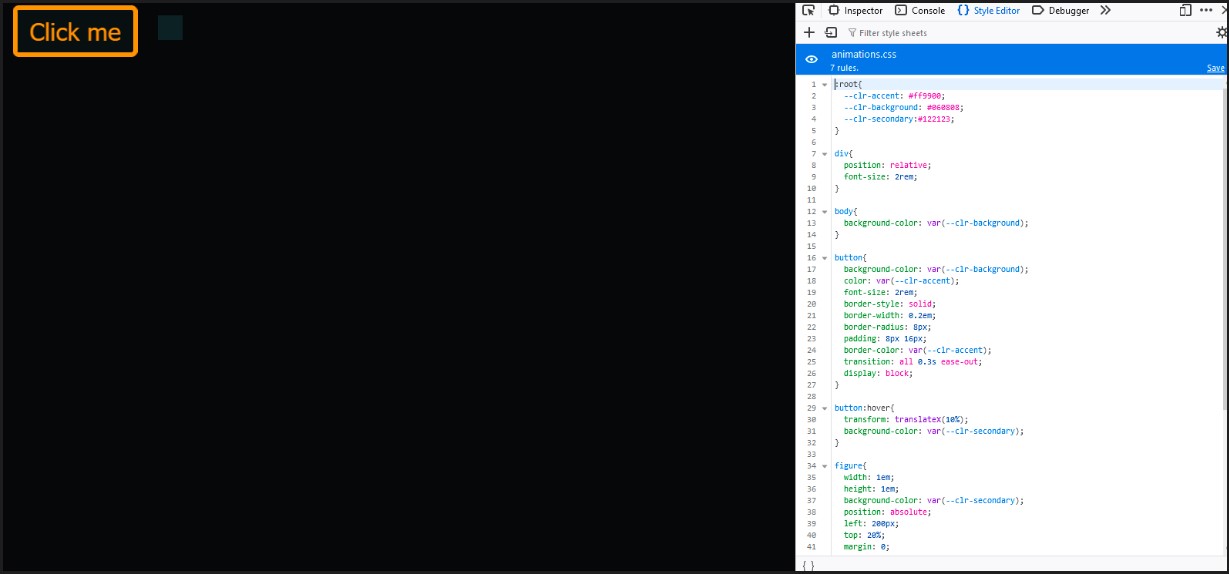
Animations
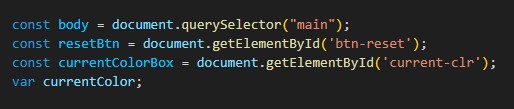
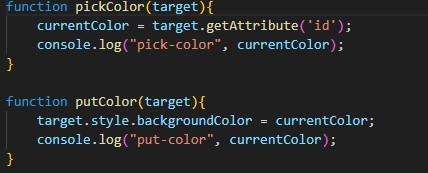
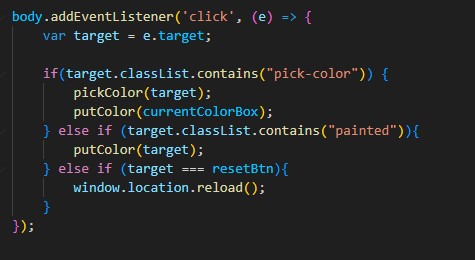
I wanted to implement what I know for CSS variables and to experiment around with CSS animations a little bit, so I familiarized myself with how they work. I watched a short tutorial by SlayingTheDragon for both variables and animations, and then created this small sandbox environment, where I played around with the transition of this button, and animated a small box next to it to go left and right.
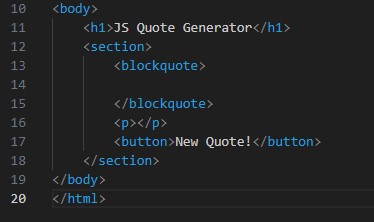
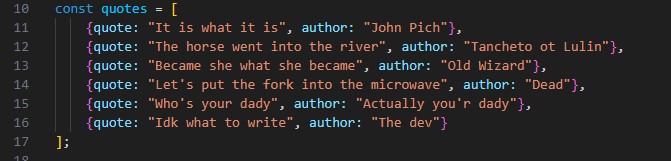
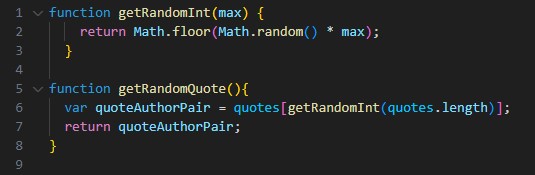
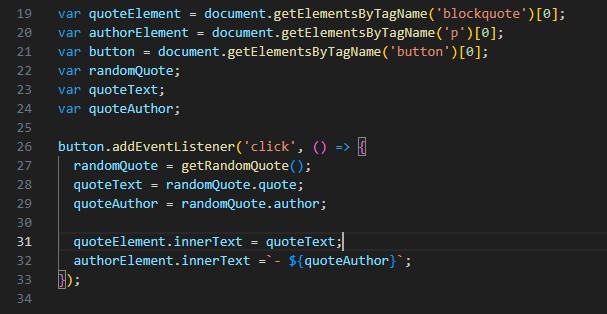
The Blockquote Element
While developing a quote generator web page, to practice using JS, I wandered if there are semantic elements for quotes in html. Happens there are, as you can read in this MDN article. That’s how I learned about the `blockquote` and `quote` elements.